Believe it or not, it’s the perfect time to start prepping your garden soil for a bountiful vegetable harvest. Whether you’re a seasoned gardener or just starting out, getting your soil ready is perhaps the most important garden task you can tackle to set you on a path of success in fall. The healthier your soil is, the healthier your veggies will be. It’s just a fact

Soil Prep for In-Ground Veggie Gardens
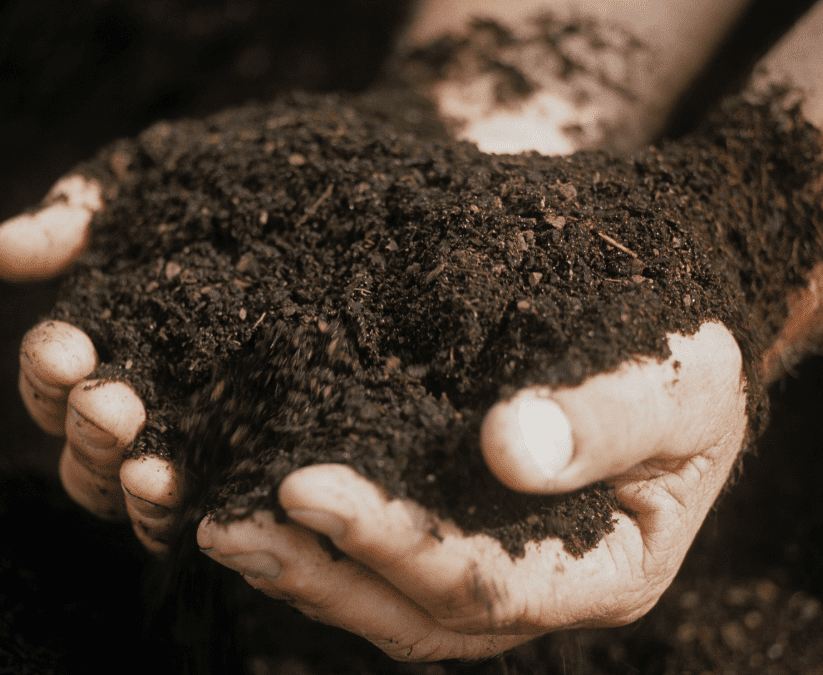
Let’s talk about working with the native soil. San Antonio’s native limestone soil can be quite rocky and challenging to work with, especially when it is recommended to dig at least 8-10″ deep in native soil to begin an in ground garden bed! You’ll need to remove any grass and/or weeds from the area; manually is best to avoid toxins in your veggie plot. If you are able to achieve all of this without breaking your back, good on you! After you’ve dug your plot, mix in 3″ of organic compost, or a mix of compost and soil conditioner, into the top soil and you’ve got yourself the beginnings of a veggie garden plot. This combination will enrich the soil, improve drainage, and create an ideal environment for your plants to thrive.

Soil Prep for Raised Bed Veggie Gardens
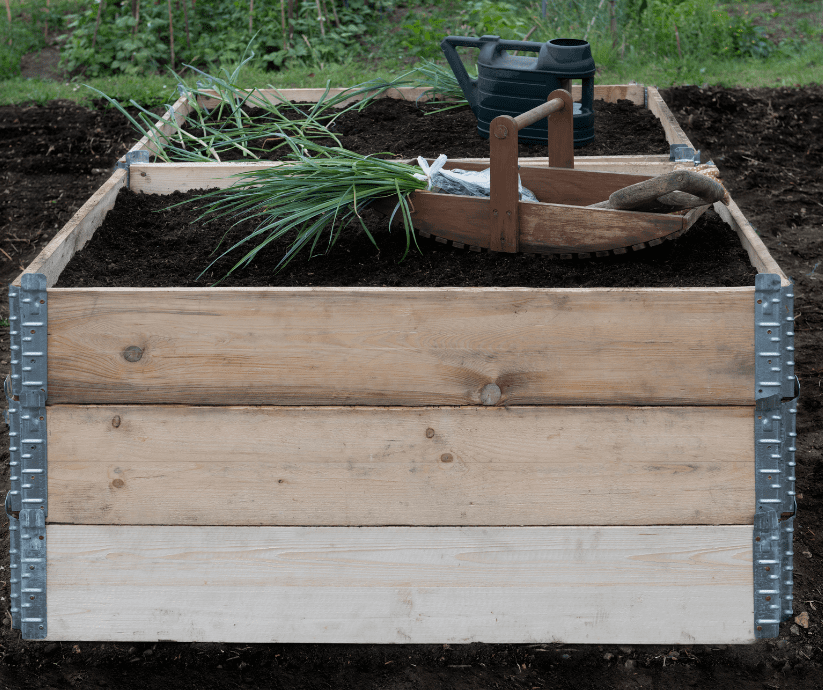
If the limestone rock just makes it near impossible to dig a garden, build up! Raised beds are a fantastic option. Building a raised bed allows you to bypass the rocky native soil and create a controlled environment for your vegetables. Raised beds should have a minimum depth of 12-15″ (18″ is even better). Simply fill your raised bed with a mix of quality garden soil and compost, aiming for a ratio of about 60% garden soil to 40% compost. This blend provides the perfect balance of nutrients and structure, making it easier to maintain and ensuring your plants get off to a great start. An extra tip: Don’t skimp on the quality of your compost. Organic matter is the backbone of healthy garden soil.
More About Soil Prep for Vegetables
You can also try a combination of both of these gardens. Dig as far as you can and then build up to create the 12-15″ depth that you need in total. Raised beds can be bought as a kit, or created in a DIY fashion, with untreated wood, cinderblocks, pallets, or anything else creative that you can find; as long as it holds your soil.
Premixing some slow-release fertilizer into your soil (at the recommended rate listed on the bag) for any of these garden beds, gives your veggies fuel for the first couple of months, and offering new transplants a dose of diluted liquid fertilizer at planting time gives them a great start.
The time to prep any of these beds is now. One of the key reasons to prep your soil a few weeks before planting is to allow the organic matter to break down a little and integrate into the soil. This process helps to balance the soil pH, improve microbial activity, and ensure that nutrients are readily available to your plants when they need them the most. This is why it’s important to add that fertilizer to the gardens beds; so they get nutrients right away, while the compost is taking its time to break down. Additionally, early soil preparation gives you a chance to identify and address any potential issues, such as poor drainage or pest infestations, before they become major problems after you’ve already planted.

So, put on your gardening gloves, grab your shovel, and get ready to turn that rocky San Antonio soil into a vegetable paradise, or take the easy route and come grab a Birdie Raised Bed at Rainbow Gardens. By taking the time to properly prepare your soil, you’ll be setting the stage for a healthy, productive garden that will reward you with delicious, home-grown vegetables all season long. Get ready to eat fresh!
~The Happy Gardener, Lisa Mulroy


My grass is turning yellow and very sparse. What is my solution?
Many things can be contributing to lawns turning yellow and sparse. I’d need to know what type of turf you have, how much sunlight and water it is getting, and if you follow a regular lawn maintenance routine (fertilizing twice a year etc..).
You could be experiencing drought damage if your turf hasn’t been receiving an inch of water a week. You may be seeing issues resulting from damage by chinch bugs if the yellow and sparse areas are in the hottest and sunniest parts of your turf. Or you may have an issue with a fungal disease if the yellow areas are patchy and in a circular pattern. Another fugal issues is take all patch that creates a yellow cast that washes over the entire lawn and causes turf to become sparse, eventually killing it all. I need more info on the above questions I asked, but I am also attaching some info concerning turf issues in these links: Lawn Fungus
Chinch Bugs
Also, here is our lawn maintenance calendar. Fall fertilization is coming up and hopefully with some more upcoming fall rain, if your lawn is suffering drought damage, a boost of fertilizer and some water may be all it needs to bounce back if you don’t have the other symptoms of what I included in these other links.
Lawn Maintenance calendar.
Hello,
What is the best soil composition and pH for growing avocados? Where can I get my soil tested or evaluated?
Hep! I am determined to grow avocados! (LOL)
Thank you,
Thomas
For the most part, a pH of 5.5 – 6.5, is the general recommendation. But a wider range of soil pH can be tolerated. It’s the salinity of soil and water that needs to be watched most. I’m attaching a link for TAMU Agrilife info on avocados. (Not sure if you live in Texas or not, so this may be relative).
For soil and water testing, start here.
If you live outside of San Antonio and Texas. You’ll need to contact some of your local extension service agents.