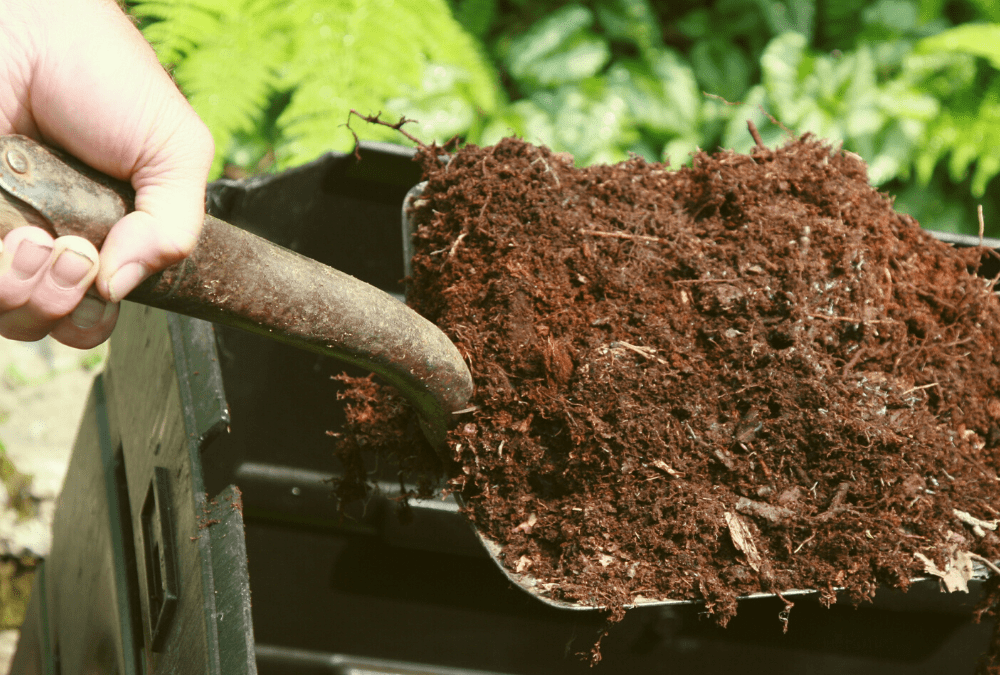
We recently hosted a great Composting 101 class with Karen Gardner, BCMG and vegetable specialist, and came away with some great tips for how to easily make your own compost. Easy is the key here. We are not diving into anything too complicated. The consensus of the class for why they hadn’t gotten into composting earlier was because it felt too complicated. That’s not what we are doing here. Today we are showing you that if you want to start composting today, you can! For extra information, you can download our compost guide here, and we have a composting video coming next week.
Composting: Why?
Composting is beneficial for numerous reasons. It helps improve soil structure, making it easier for plants to grow and thrive. It provides essential nutrients to plants, eliminating the need for chemical fertilizers. Composting also saves water by helping soil retain moisture and reduces the amount of waste that ends up in landfills. Furthermore, it helps balance soil pH, creating a healthy environment for plants to flourish. Sounds good, right?
Composting: How
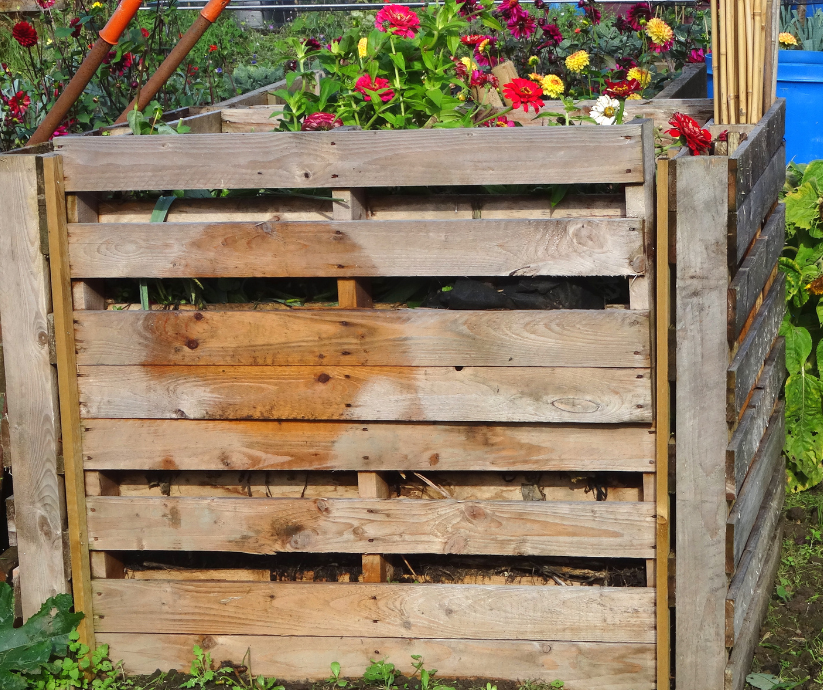
There are several systems you can use for composting, such as: heap/pile, trench/pit, wire bin or trash can, moveable frames, tumbler, or a system of recycled pallets. Each system has its own advantages and can be chosen based on your available space and needs. We found the heap/pile method or the pallet composting bin to be of the easiest and most functional methods. Take a look at our DIY Compost Bin video we recently created with the help of Kristi and Becca from Two Hoes Gardening. It’s a fun project that gives you all the materials and instructions you need to create a cute and functional bin.
What To Add and Not Add to Compost:
The chemical process of composting is nature’s way of recycling organic matter. Bacteria and other microorganisms along with macroorganisms will break down the organic materials into humus, which is a nutrient-rich soil conditioner. This process requires oxygen, water, and the right mix of organic materials to work effectively.
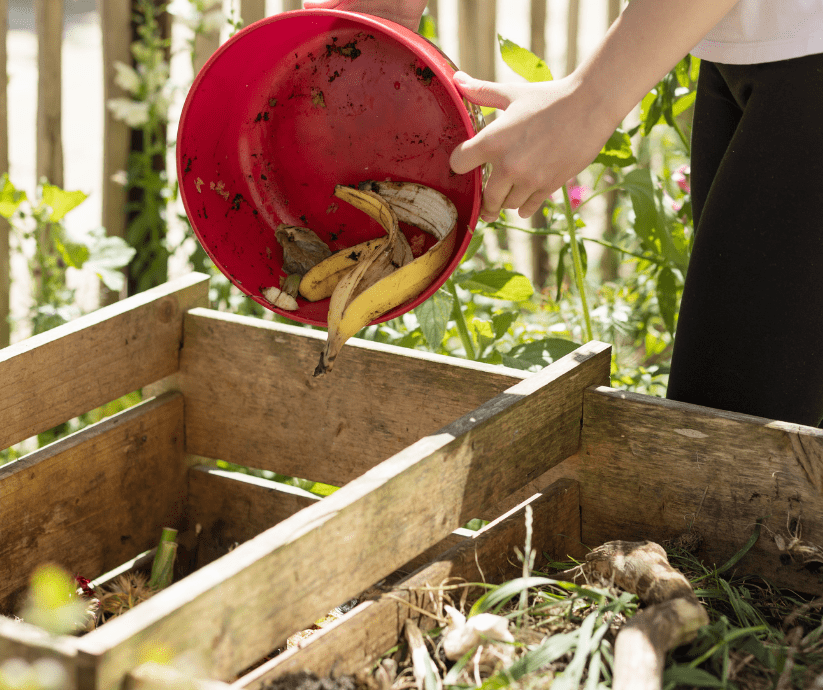
This mix consists of green and brown organic materials. Greens provide nitrogen, while browns provide carbon. Examples of greens include: fruit and vegetable scraps, grass clippings, plant trimmings, coffee grounds, green manures and animal manures. Browns include: dry leaves, straw, shredded paper (not the glossy type), sawdust, cardboard, old mulch, twigs and wood chips.
While maintaining the right balance of these materials is key to successful composting, don’t get too caught up in the perfect balance at first. Start by adding a layer of brown and then a layer of green, and build up that way (like you’re layering a lasagna). Mixing in a bag of organic compost like Landscaper’s Pride Mushroom Compost, which already has some microorganisms in it, helps to kick things off.
You’ll start to get the hang of how to balance your compost as you do it. Too many “green” materials can cause compost to be overly wet and possibly a little stinky. Simply add some more “browns” to the pile and mix it up a little. If your compost is just sitting there without much progress, it’s possible you have too many “browns” in the mix. Add a little more “green” and give it a mix.
As important it is to note what you should add when composting, is what you shouldn’t add. These materials include: pesticides/herbicides, weed seeds, meat, dairy, grease/cooking oil, charcoal ashes, diseased plants, treated woods, bones, and animal feces.
An extra note from me:
I like to make sure I can cover my compost piles with some type of wire gridding. This can be some left over chicken wire, or fine mesh wiring of some type. This helps keep the critters out. The animals that is, not the insects.
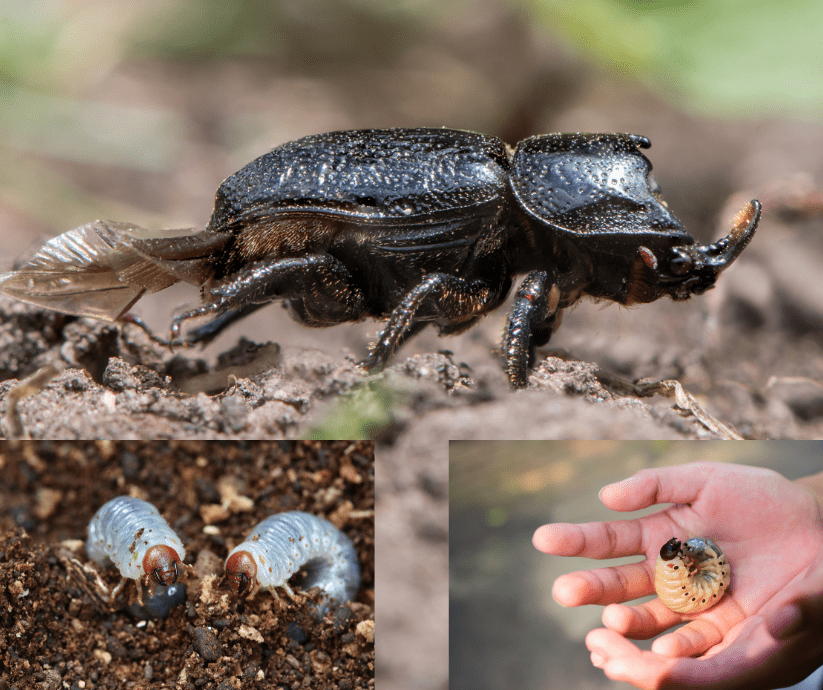
You will have insects in the compost bin and that is okay. You might even run across some rather creepy looking and gigantic grubs. Don’t freak! Consider yourself lucky! Those are great composters and they are helping you break down all your material. They aren’t the damaging bugs that eat your lawn, these are the larvae of the Rhinoceros Beetle. Micro-organisms (bacteria and fungi) and macro-organisms (worms and insects) are what you WANT in your compost piles.
Maintaining Compost
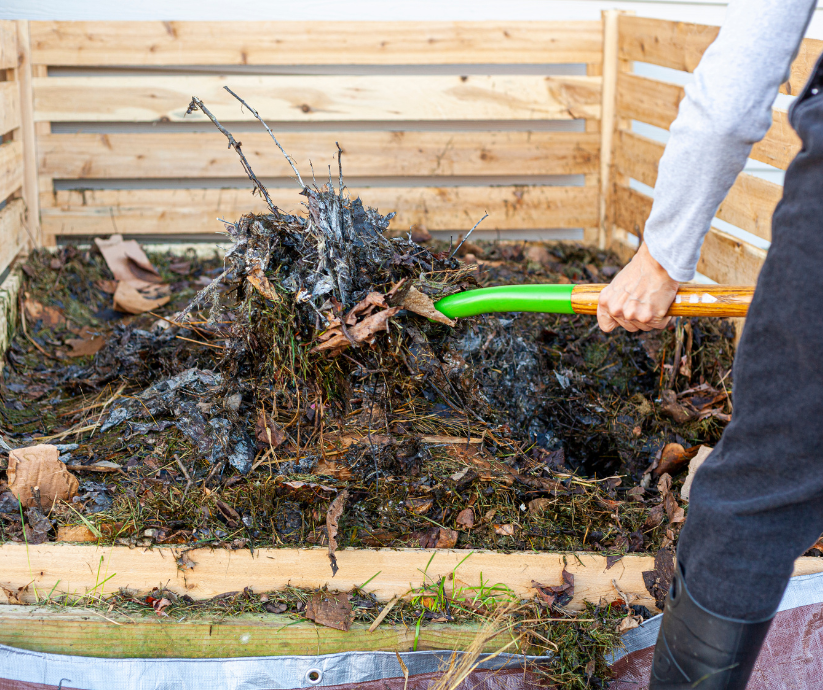
Although I mentioned that your compost shouldn’t be too wet, it IS important that your compost pile is kept slightly moist. You should have a water source available close by to dampen your compost from time to time. The compost should not be overly wet, but should have the feel of a damp, squeezed out sponge.
Compost piles also require oxygen to process. You can easily achieve this by grabbing a pitchfork and occasionally “turning” your compost pile. This simply means using the pitchfork (or shovel) to lift the material from the bottom of the pile and “turn” it onto the top. Start by aiming to turn your pile once a week. You’ll learn when to do this by checking for material breakdown at the bottom of the pile. Increase the times you turn the pile to speed things up when composting seems to lag.
When Can I Use My Compost?
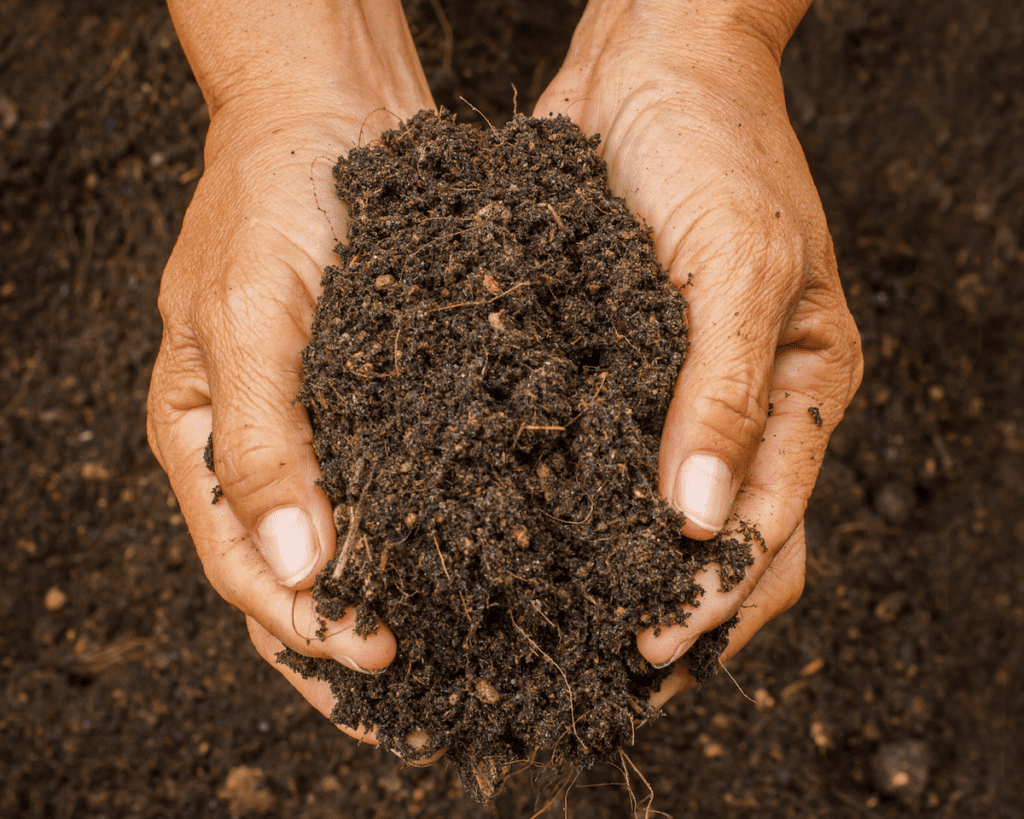
On average, a compost pile can take anywhere from a few months to a year to fully break down and become ready to use in your garden. Factors that influence the speed of composting include: moisture level, the size of components, temperature, turning frequency, the carbon-to-nitrogen ratio of the materials, and how often you are adding to the pile. Your compost is done and ready to use when you have a rich, crumbly soil product with an earthy scent, and you can’t recognize any of the components that you added to it.
A note on that last factor of how often you are adding to your pile. Many people opt for a multiple bin system where they shift compost around that is at different stages in the process so that they can keep adding to one bin, have another that is partially done and one that is ready to use at all time. I’d say start with one pile and see how it goes before building bigger.
Ready to give it a try? Let’s do this. Happy Composting, Friends!
~The Happy Gardener, Lisa Mulroy
