Collecting seeds during the winter months can be a rewarding and cost-effective way to prepare for your spring garden. Winter is beating a the door, so it’s the perfect time to collect seeds from some of those cold and frost sensitive plants. Whether you’re a seasoned gardener or a budding enthusiast, understanding how to properly collect, dry, and store seeds will ensure you have a thriving garden come springtime.

Collecting Seeds in Winter
Winter is an ideal time to collect seeds from plants that have finished their growing season. Begin by identifying plants that produce seeds you wish to collect, such as basil, senna, sunflowers, and other warm season plants that won’t grow through winter.. Here’s how to get started:
- Identify Seed Pods: On a dry day, look for seed pods or dried flower heads on your plants. These should be brown and dry to the touch, indicating that the seeds are mature and ready for harvesting. You want to grab them when they are peaking maturity, but still attached to the parent plant.
- Harvest Seeds Carefully: Use clean scissors or garden shears to snip the seed pods from the plant. Collect them in a paper bag to prevent moisture buildup, which can lead to mold and rot. Again, collecting only those seed pods that have fully dried on the plant is best to avoid the fungal issues.
Drying Seeds
After collecting seeds, proper drying is crucial to prevent mold and ensure seeds remain viable for planting. Wet, and even slightly wet, seeds can contribute to fungal growth and diseased seeds. Drying seeds is imperative to the process.
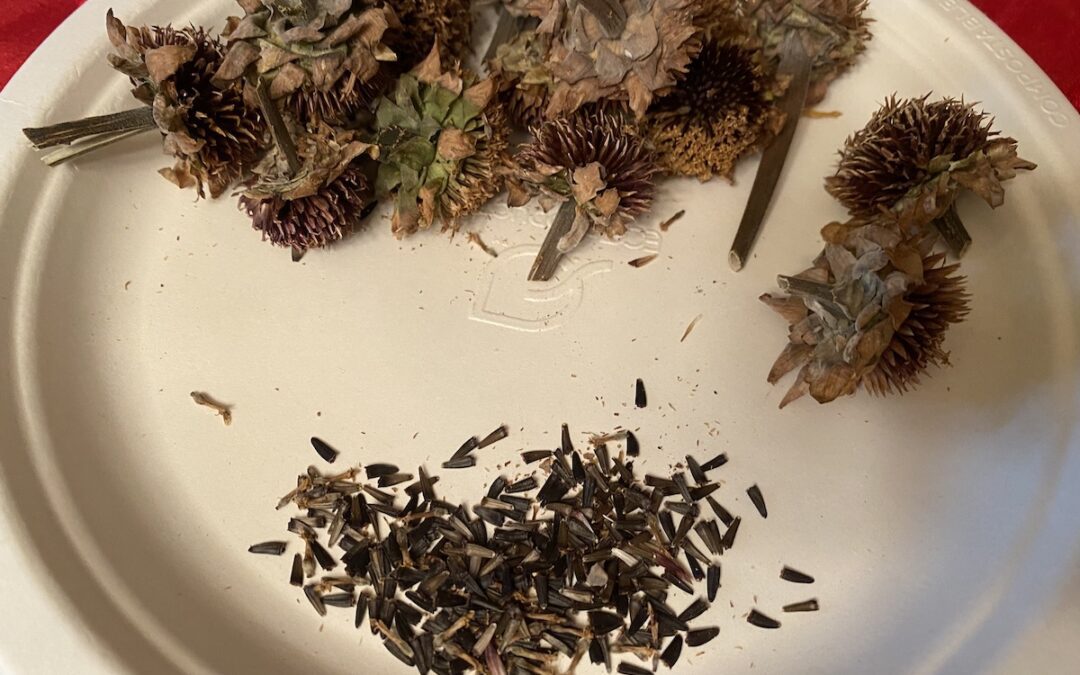
- Spread Seeds Out: Once collected, spread the seeds out on a clean, dry surface such as a tray, a cardboard plate, or a piece of newspaper. Keep them in a well-ventilated area away from direct sunlight.
- Monitor Seed Drying: Allow the seeds to dry for at least a week. Stir or turn them occasionally to ensure even drying.

Extracting Seeds from Hulls
Removing seeds from their hulls or pods is important for several reasons, including preventing disease and making them easier to plant. Larger seeds are easy to remove from pods while some seeds are so tiny, it can really be a tedious task. A holiday movie in the background, or a great podcast or playlist can help you muscle through it. The end result is worth it.
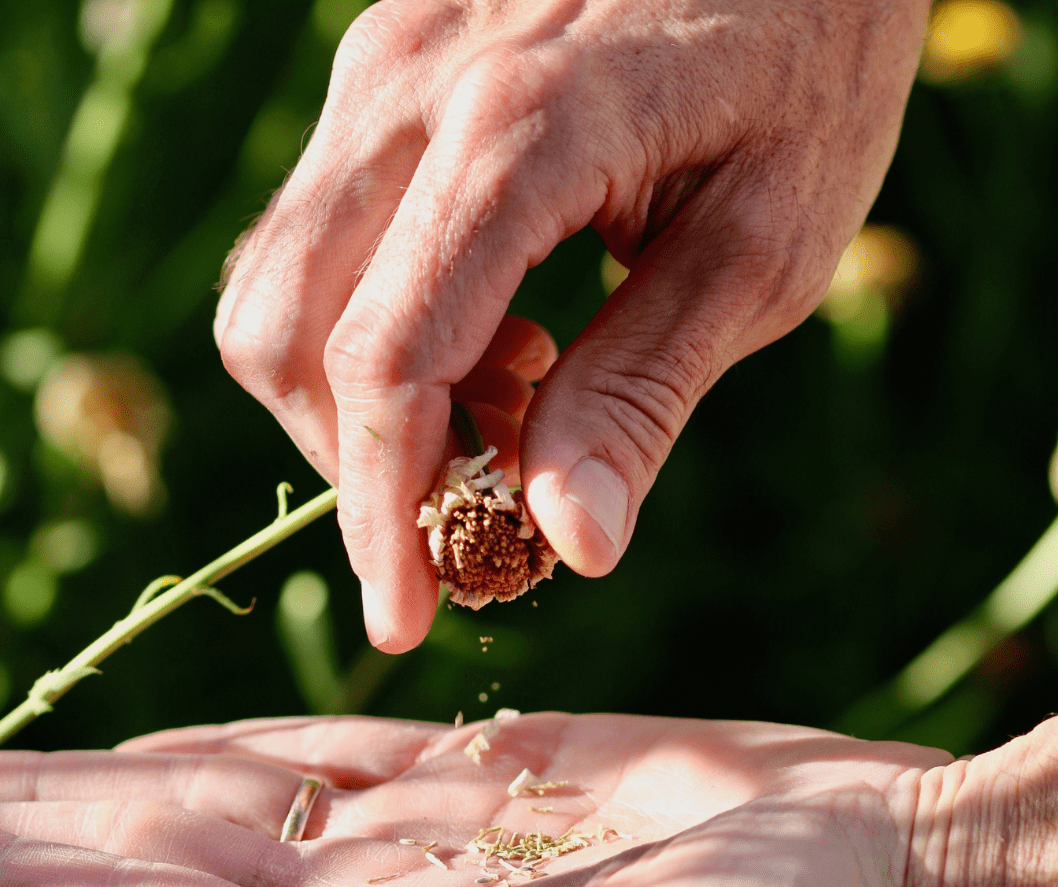
- Release seeds from pods: Once the seeds are dry, you can try shaking into a paper bag to release some of the seeds, but you may also have to gently crush the pods or hulls to release them. Be careful not to damage the seeds themselves. (Wear gloves for spiky pods like sunflowers and coneflowers…ouch!)
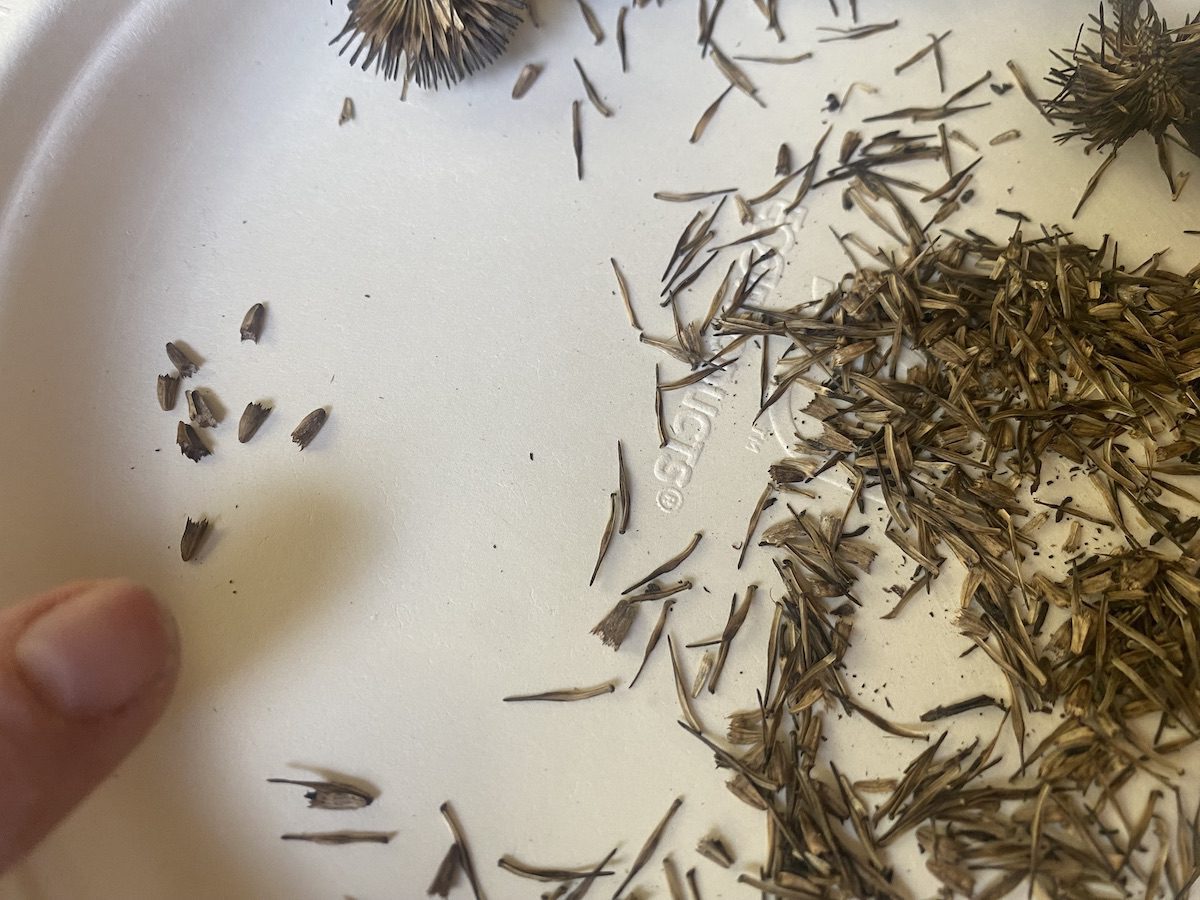
- Separate and Clean Seeds: Use a sieve (you can shop thrift stores to get a few with varying sized holes), or netting, or your fingers to separate the seeds from the chaff (the dried, unwanted parts of the plant and seed coverings). This process not only reduces the risk of disease but also ensures that you’re planting only the healthiest seeds.
Storing Seeds
Proper storage is key to maintaining seed viability until planting season. Dark, dry, cool are the proper elements you need to remember for storing seeds. Light, moisture and heat are the wrong elements!
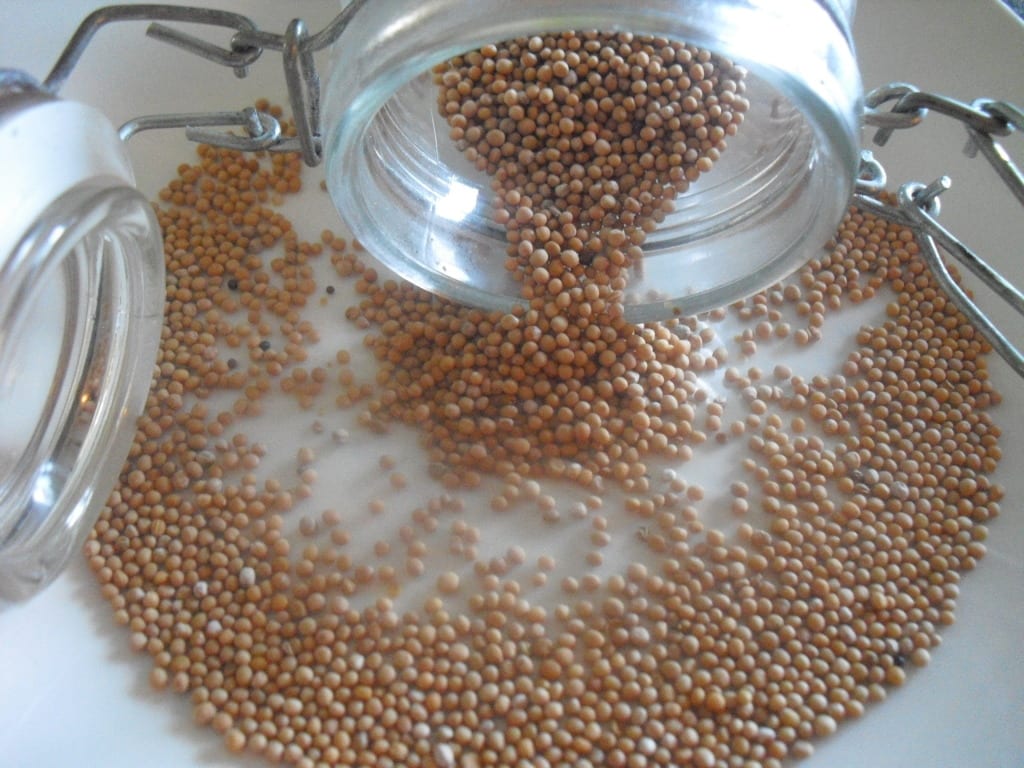
- Use Airtight Containers to Store Seeds: Place cleaned and completely dried seeds in airtight containers such as glass jars or sealed envelopes. Label each container with the seed type and date of collection. Do this as you go, because you’ll be surprised by how so many seeds look alike!
- Cool and Dry Environment: Store the containers in a cool, dry place. Mine reside on a dark shelf in my garage. A refrigerator is a good option too, as long as the seeds are in a sealed jar (paper envelopes or bags will let in too much humidity), as it helps maintain a consistent temperature and humidity level.

Waiting for the Right Season to Plant Seeds
In San Antonio, Texas, where winters are mild and summers can be scorching, timing is everything when it comes to planting.
- Know Your Seeds: Some seeds, like basil and senna, require warm soil to germinate. Planting them too early can lead to poor growth or failure to sprout.
- Watch the Weather: Keep an eye on local weather forecasts and wait until the threat of frost has passed and the soil has warmed up, usually around late March to early April.
- Plan Your Garden: Use the winter months to plan your garden layout and decide where each plant will thrive best. This ensures a smooth transition when it’s finally time to plant.
A packet of seeds from your garden is a thoughtful, heartfelt, and unique gift! Besides, we are kicking around the idea to hold a seed swap event at Rainbow Gardens around National Seed Swap Day in January. Collect now so you can join the fun!
By following these steps, you can successfully collect, dry, and store seeds during the winter months, ensuring a bountiful garden when the warmer weather arrives.
~The Happy Gardener, Lisa Mulroy


I am just learning about collecting seeds, is there any recommended books or info on all kinds of flowers and herbs? Do they all produce seeds? Some are easy to see but others not.
Hi Eva
I’ve put out the bat signal to get some recommendations for books. Let me see if I hear back from some of my avid seed collectors. No, not all plants produce viable seed, some plants need to be propagated by cuttings or other ways. Hold tight, I’ll try to find something for you in the upcoming week.