Side note: This is not the time to transplant tropicals. They are cold sensitive plants so there is no reason to uproot them and make them try to get established through winter time. They won’t make it. You also don’t want to attempt transplanting specimens with a long taproot (Mt. Laurels, Acacia, Pecan, Retama, etc.) More than likely the taproot ends up severed and bye-bye to your plant.
Before Transplanting Considerations
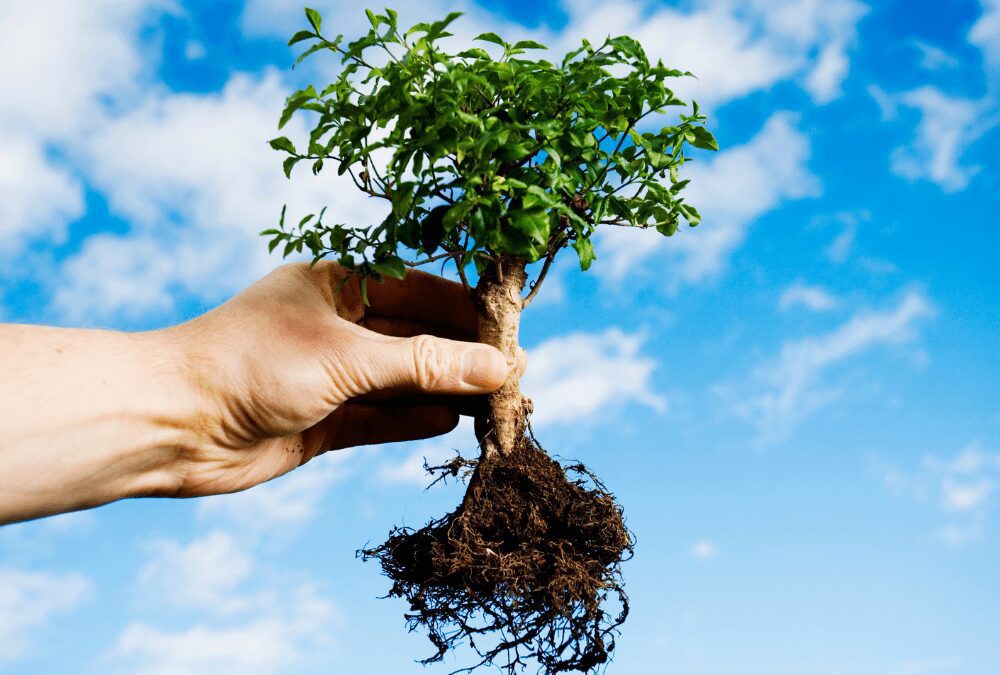
Before taking this task on, know that transplanting can be WORK. Especially if you are trying to move something big. The larger the plant, the larger the rootball you will need to dig up. The longer the plant has been in the ground, the more it’s roots are anchored.
Take a second to decide if you really need to move the plant (Are it’s needs not being met, has it outgrown an area, do you just want something different there?). I’m not trying to deter you, just laying it out there.
If you’ve decided to transplant, gather these supplies, and then follow the advice below. Supplies: Sharp shovel or spade, tarp, mulch, measuring tape, hose, root stimulator (opt., but helpful).

Steps for Transplanting
Have your location picked out for where you plan on transplanting your tree or shrub BEFORE you do ANY digging. Once you have your new location, analyze the area your tree or shrub is currently planted in. Your goal is to get as much of the rootball as you can with minimal damage. Take in consideration that most plants’ roots stretch out their drip line.
The drip line is the area from the trunk or center of the plant to the outer most branches (For instance, with trees, this would be the area on the ground that would be in shadow if the sun was directly overhead.)
Start on the outer edges of the drip line to begin exploring for roots and the rootball. Use a sharp, pointed shovel or spade to cut deeply into the soil and make a complete circle around the drip line, checking for roots. If you don’t seen any, inch in closer towards the plant’s center.

Once you have estimated the size and depth of your rootball, THEN you can dig the hole for the new transplanting location. Dig twice the diameter of the rootball, and only as deep or even a little shallower than the height of the rootball. (This can help prevent you planting your specimen too deep, which is a top cause of tree and shrub death.) Fill the hole with water and let it seep in while you work on digging out your plant.
Dig up your specimen by removing enough soil from around the sides of the dripline so that you can begin to inch your shovel underneath the plant to start loosening it from the soil’s grip. If you are transplanting a big specimen, this step may take a couple of extra hands; be nice to your friends so you can call them in for this favor.

Carefully (don’t hurt your or your friends’ back) lay the specimen down on your tarp and use the tarp as a transplanting mode of transportation. Drag the uprooted plant to the new hole and gently let the plant slide into it.
Make sure your transplanted specimen is upright and either at the same level, or slightly higher than, what it was planted at before. Backfill the hole with the native soil you previously dug out, tamping the soil down to remove air pockets and settle soil.

After Transplanting
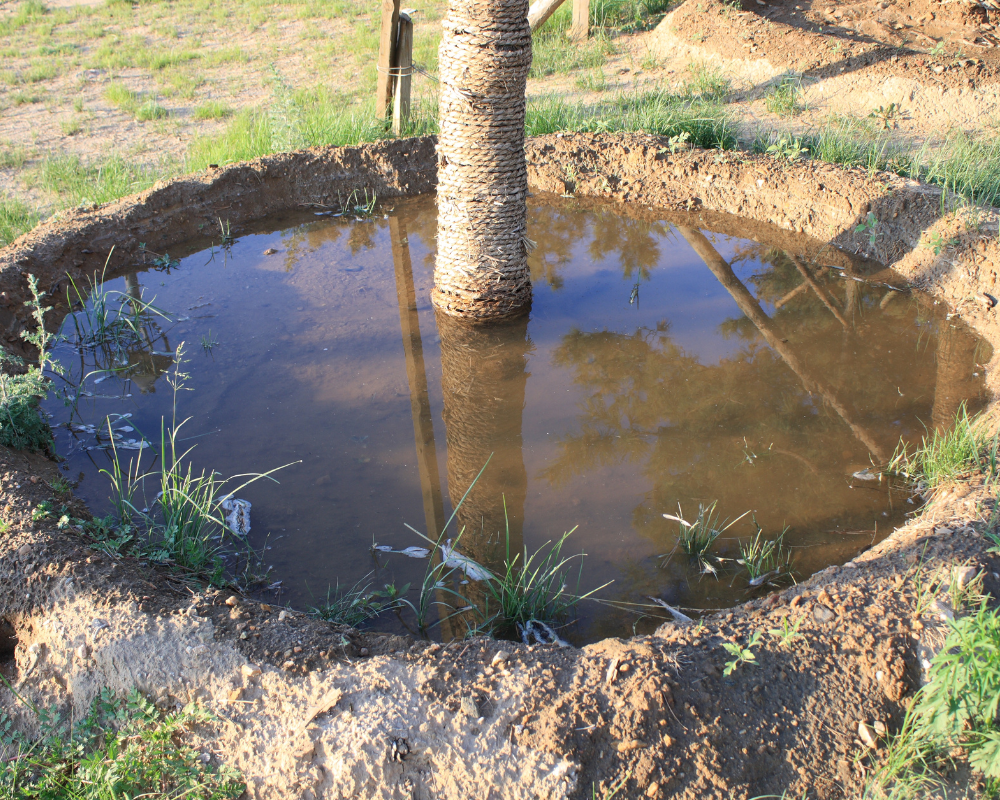
I highly recommend building a berm around your new plant to keep water from escaping where it most needs to be while your newly transplanted specimen is getting established.
A berm is mounded soil, or mulch, that stops the flow of water, capturing it in a basin that holds water until it can be absorbed in the soil. You are basically creating a reservoir around the trunk or base of the plant (out to the drip line, remember that term?) Build it up about 3 inches and you can fill it with water at the end of transplanting.
Pay attention to the watering needs of your specific plant. Newly transplanted plants need more water than established plants of the same species. Water when the top 2-3″ of soil is dry. You can use a ruler to poke down into the soil and test for moisture. Check your plant daily for the first 2 weeks and then every couple of days from week 3-12, and then weekly for as long as you need until your plant is established.


can crape mertils be transplanted now or bought and be planted now.
Hi Teresa,
The answer is both! Fall and early winter is the best time for planting trees, and November is a good time for transplanting if you need to move anything around.
Have overgrown philodendron
Any thoughts on cutting back ?
Too huge to move as is.
If cut off at trunk will it come back ?
Do I try replanting top I cut off?
Hi Michelle, sorry I missed this. You could propagate some of the individual stems of philodendron (split leaf?) now, as long as you make the cuts below a node.
Or, Not sure where you live, but here in San Antonio, I wouldn’t completely cut the trunk back now. Wait until after winter and frost has passed. The more foliage left on the plant through winter the more protection from the cold. After danger of frost has passed in spring, you could cut the trunk and propagate top, as well as have a better chance that the base of the plant survived the cold. It can be dug up and transplanted or even divided then. Check out this video.
What about Red oak trees? Mine has been in the ground for 5.5 years but the builders planted it too closely to the house and honestly that tree is going to be too huge for our small property.
In general, an oak tree can be moved until it is about 8 feet tall without causing damage to the tree. If you are in that range, you still need to careful to get as much as the rootball as you possibly can to limit transplant shock or damage.