Every year I see the boxes of amaryllis bulbs lined up at the nursery and every year I tell myself I’m going to grow one in a simple glass cylinder vase. But before I know it, all the bulbs are scooped up by those who don’t procrastinate quite as long as I do. This year was different! I’m not saying I didn’t procrastinate, but I was lucky enough to still have a couple of bulbs to choose from and so I set off to gather my other supplies.
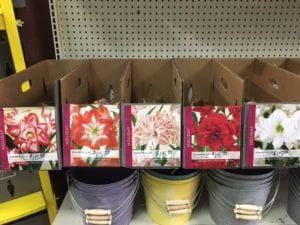
(This year I didn’t walk by!)
(Double Dragon looks like a good choice to me!)
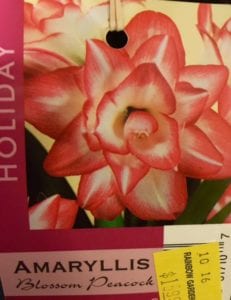
(I also chose Blossom Peacock.)
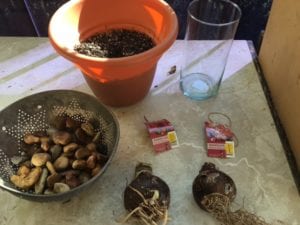
Turns out, the supply list needed for growing an amaryllis inside is super short, and inexpensive. This leaves me wondering why I’ve put off enjoying these beauties every year. All I needed was a glass cylinder vase or pot, some potting soil/compost or some pebbles, my amaryllis bulb and water. I chose a medium-sized cylinder vase from the great selection we carry at Rainbow Gardens, and chose two bulbs that promised double blooms and gorgeous color. I had everything else I needed at home already, the potting soil/compost, pot, pebbles, and water, so I was ready to rock and roll.
(This is it….all the supplies I needed.)
What follows are probably the most simple tutorials ever on forcing bulbs into bloom.
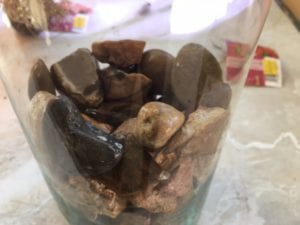
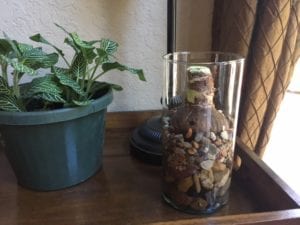
Growing amaryllis in glass containers: Simply place a layer of pebbles in the bottom of your vase (at least 2″), drop in your amaryllis bulb root side down, fill in around the sides with more pebbles to hold the bulb upright, and then add water just to the bottom of the bulb. Place the vase in area with indirect light for the first two weeks, then move to a sunnier area and rotate it from time to time so it will get even sun exposure and proportional growth. Keep water level at bottom of the bulb and change out water when it gets too cloudy. Seriously, that’s it. Your amaryllis will grow roots down through the pebbles and into the water and you’ll have beautiful blooms anywhere from 4-8 weeks. It’s just as easy to grow your amaryllis in a pot with potting soil/compost too.
(Layer of pebble in vase, giving roots at least 2″ to grow.)
(All done and placed near a window for indirect light the first few weeks.)
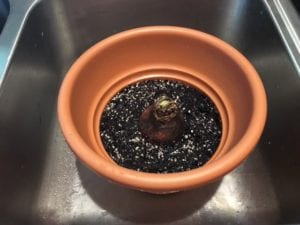
If you choose to grow your amaryllis in a pot: Simply fill a pot with a few inches of potting soil or compost (at least 2″), place amaryllis bulb in the pot root side down, then add more potting soil/compost to the pot leaving the top 1/3 of the bulb exposed. Water well and place in an area with indirect light for the first two weeks and then move to a sunnier location. Again, rotate the pot for even sun exposure and proportional growth. Keep the soil moist as your amaryllis grows, taking care to water the potting soil/compost only and not the top of the bulb. In 4-8 weeks you will be enjoying a vibrant pop of color from the blooms of your gorgeous amaryllis. The process of forcing bulbs is so easy, how could you not want to give it a whirl?
(Watering the pot in a sink to let it drain completely before placing it in a window. Top 1/3 of the bulb should be peeking out of the soil.)
I love to test different growing techniques so that I have a firsthand account of which method works best, or at least which method I prefer. I encourage you to do the same. Here’s to hoping I’ll have been successful in bringing some color inside to counter the darker winter days to come.
(Looking forward to blooms!)
****DECEMBER 9TH, 2016 UPDATE*****
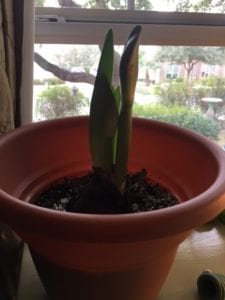
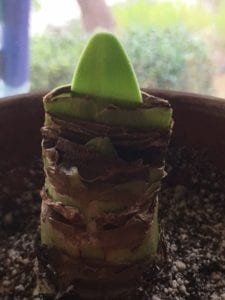
It’s been a little less than a month and they are growing but it has taken a little longer than I expected. Although, I don’t have a very high patience tolerance. The one I first potted in the soil has shot off much faster than the bulb I had placed in the cylinder glass. As a matter of fact, I started really scrutinizing the cylinder amaryllis and it didn’t appear to be doing much of anything.
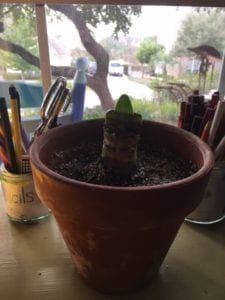
I thought maybe I could wake its lazy bones up with a water change, but when I attempted this, I was greeted by the most putrid stench of roots rotting! The roots looked slimy and on the verge of death. Maybe I didn’t give them enough space at the bottom, to grow. I yanked the bulb out and potted up in soil like the other one to see if I could salvage it. So far it seems much happier in the pot, it popped out a shoot within days and I actually see some new growth peeking out, do you? Maybe all is not lost. I’m sure there is a perfectly good way to grow the amaryllis in the glass cylinder, but it was not the technique for me.
(In the soil from the get go.)
(The one transferred from glass cylinder into pot with soil, happier already.)
(See the new growth peeking out? There’s hope!)
The Happy Gardener
Lisa Mulroy


