February is really the jump start month for spring in San Antonio. If you didn’t get a chance to look at Jump Start Spring Part 1: Planting and Pruning, you can access the blog at the link. Part 2 is all about lawn and soil prep for the upcoming spring season. When it comes to lawn and soil prep, there is plenty to do this month, as well as plenty to plan for next month. I’ll try to break it down in easy steps.
February Lawn Care in San Antonio
Apply Pre-Emergent Weed Prevention to Lawn: Weed pre-emergent products are applied to the lawn in both early spring and early fall. The ideal time for spring application is mid February to early March. Pre-emergents are granular herbicides that you apply to your lawn by using a rotary or drop spreader BEFORE weeds are present. The product creates a chemical barrier in the top layer of soil which prevents the seeds of weeds from developing into a plant. Follow the label on the bag for application directions and ratios.
A word about post-emergents. Post-emergents are used to get rid of current weeds you have in your lawn. You need to be very careful that you choose a post-emergent product that is labeled specifically for the type of weed and the type of turf in your lawn, otherwise your grass could be damaged. You’ll need to know that after May (maybe even during May), the temperatures will be too high to spray without damage. You’ll also need to take care that you don’t have any overspray into your flower gardens or other plants close by, and you’ll probably need to add a surfactant (10-15 drops of dish liquid would suffice) to make sure the product sticks to the weeds.
We generally prefer to apply pre-emergent at the correct times of the year, and then pull or mow the errant weed that pops up, as opposed to applying post emergents. But they are available if you desire them.

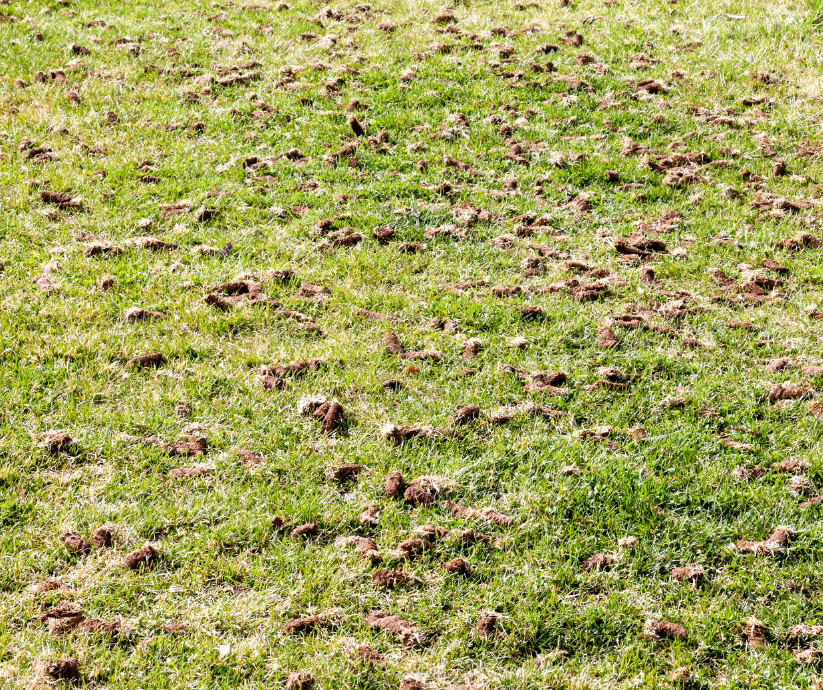
Aerate Lawn and Apply Compost: This is a good time of year to have your lawn aerated if you think it needs it, to thin out thatch that has been built up over the years. Thatch is a layer of living and dead plant material that forms at the base of grass in the lawn. While thatch can provide a good environment for growing grass, if it gets too thick, it can prevent oxygen and air from penetrating to the roots of your turf. This can result in disease issues.
If you’ve noticed a significant decline in your turf lately, use a trowel or spade and cut out a 3” deep, wedge-shaped piece of sod and look directly underneath the area where grass meets soil. A layer of thatch over ½” to 1” might be signaling it’s time to call in the professionals or rent a core aerator yourself. After aerating, you can also choose to apply a thin layer of compost as a top dressing.
Apply Organic Fertilizer to Lawn: This is the time to apply organic fertilizer only (synthetic fertilizer gets applied towards the middle to end of next month). The reason organic fertilizer gets applied earlier is because our warm weather lawns don’t start taking up nutrients until about mid March. Organic lawn fertilizers need about 4 to 6 weeks for their ingredients to break down enough to be taken up as nutrients.

Soil Prep for San Antonio Spring Gardening
It’s a fact that the health of your soil is perhaps the most important factor when it comes to gardening success. Do you believe us yet? Don’t delay building your soil for the spring garden season. Whether you are just starting out with fresh beds for flowers or vegetables, or you are planning a refresh for spring, your soil should be prepped and built up at least two weeks before planting time (more time is even better). This gives all your soil ingredients time to mix and settle in before greeting plants. Also, who wants to be worrying about soil prep when all the spring selections arrive at Rainbow Gardens. You don’t want to be behind on planting because you didn’t prepare in time. Spring planting starts early in San Antonio, like in March folks!
Building Soil in Garden Beds
Existing beds: 2″ – 3″ of quality compost needs to be mixed into the top few inches of soil. Thoroughly mix. Do this each planting season.
New beds: Native soil should first be tilled to a depth of 12′ – 15″, then add about 3″ of organic matter (compost, soil amendments), and thoroughly mix into the top 6″ of soil.
Vegetable gardens need to be at least 12″ – 18″ deep to allow for roots to grow to fruition. If you don’t have enough soil to dig down, build up! Raised beds are great for growing veggies and herbs. Extra tips for vegetable gardens: Plan your garden close to a water supply (makes it much easier to get out there and water consistently). Start small for first gardens, and only plant veggies that you will actually eat. I know that sounds weird, but when you see the veggie selections it’s hard to resist. Don’t take up prime real estate for a “maybe” when you are starting off. See our most important Basic Vegetable Needs here.
Some Soil Building Products I Love
- Garden-ville Living Mulch
- Nature’s Creation Organic Compost
- FoxFarm Happy Frog Soil Conditioner
- Peat Moss
- FoxFarm Jump Start Fertilizer
Hope this gives you enough projects to keep you busy the rest of the month. Spring is on the way!
~The Happy Gardener, Lisa Mulroy


I need a couple of things. One what kind of plants can I put a long my hot flower bed along the street curb? The secon d is I would like to have a forecast of what to put on my St Augustine lawn for the remainder of this particular year. I see the weeds are already sprouting with a vengeance.
Hi Wayne,
Since you say you flower bed is hot, I’m assuming it is full sun. I don’t know how big it is or if you would like perennials, annuals, or a mix. I’m going to suggest a mix (again, without knowing how much room you have, so be mindful of space.)
Salvia greggi are always amazing and push out blooms spring through fall and sometimes longer. You can find multiple colors and they stand up to our hot Texas climate.
Perennials:
Lantana (but choose shorter varieties since by the curb)
Gregg’s Blue Misflower (it spreads though)
Coreopsis
Agastache
Annuals:
Profusion zinnia (you could plant by seed)
Vinca (Periwinkles)
Moss Rose/Purslane
(These annuals will start showing up in the nursery mid March, when it gets a little warmer)
I am going to attach our https://www.rainbowgardens.biz/wp-content/uploads/2024/01/Spring-Lawn-Shopping-List-Essentials-7.png. It offers a few choices fo fertilizers, weed control, and fungus control for either organic gardeners or synthetic. But….if you already have weeds, I would suggest the Weed Beater Complete because it is a pre-emergent AND has some post emergent as well. So you will be helping to prevent the new weeds that sprout over summer and fall, and you may get some control for the current weeds you have that. (I’m also attaching a weed blog that explains how you need to treat in spring for summer and fall weeds, and in fall for winter and spring weeds. Weird, but true.) Weed Beater can slightly yellow St. Augustine for a short period of time, generally removed with the next mow or two. Crew is also a great weed pre-emergent product.
Hope this helps.
Someone told me to cut the dormant grass as short as possible in February before doing the things you stated. Is that true?
Hi Peggy,
“Scalping” the lawn used to be a common practice for spring lawn care, but time has shown that if done incorrectly, it can weaken your turf and cause unnecessary stress and damage that, in turn, could invite disease and insect issues. It also is mostly beneficial for bermuda grass if it is to be attempted.
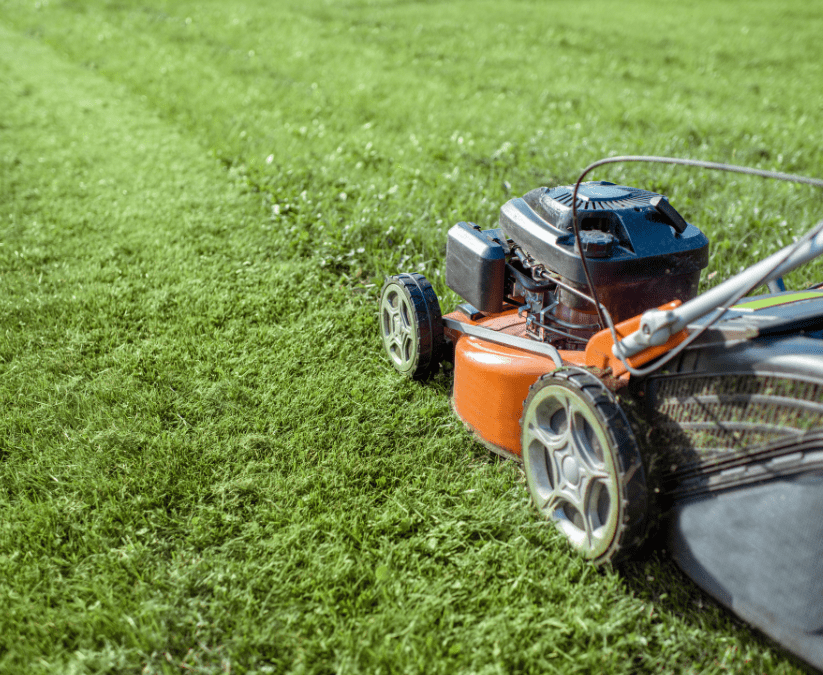
We think it’s best that if you want to mow before applying products, you remove no more than 1/3 of the height of your grass blades. This removes just the top layer of dead grass and debris promoting healthy new growth.
Make sure your lawn mower blades are sharpened for spring too!
Hope this helps.
Is there something I can use on my Bermuda grass this time of year to get it going? We just moved in 3 weeks ago and I’m behind.
Hi Bob,
Come grab yourself a bag of 19-5-9 lawn fertilizer. Between mid April to mid May is the best time to fertilize warm weather lawns here in San Antonio Texas. You’re not behind yet!